In this section you will learn how to rearrange your existing
diagrams.
You can work on your diagram to adapt the organization using the
following elements:
It is possible to work on a full screen diagram editor by double-clicking
the diagram file tab.
The following example was created by double clicking on the demo.ucd-demo deployment
diagram, then selecting the zoom icon on the toolbar and finally left clicking
inside the deployment diagram editor.

eUML2 allows you to use layout functionalities. We recommend using
Layout for a class diagram reverse and then manually reorganizing your diagram.
The layout will reorganize your diagram using mathematical algorithm.
To use the layout function, open the diagram editor's popup menu and select
layout.
Advanced multiple selections are proposed, as well as group/ungroup and key shortcuts for more precise functions.
Selection of an element:
eUML2 allows you to move every element of the diagram using the mouse or the keyboard.
Moving is
possible with:
The following
example shows how to move the Project class using
the
mouse:

When the
mouse
button is released, the Project class has moved.

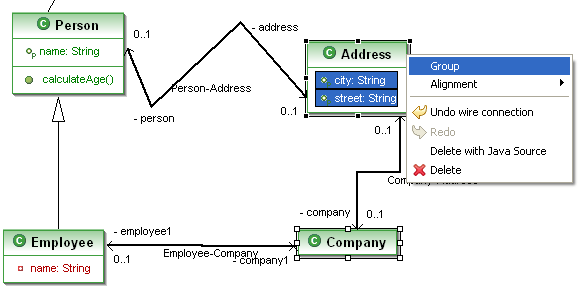
Selection of a group of elements:
Moving is possible with:


The group classes will always move together.
Ungroup will deselect the links between elements.
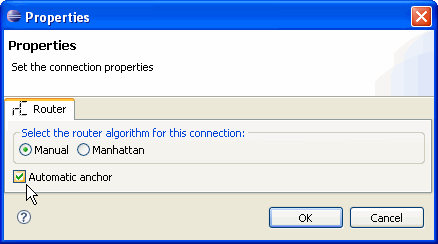
You can customize every link inside your diagram editor. Right Click on a link between two elements >open the pop up menu>Properties
You can select the router algorithm and Anchor for each link

Router:
Manual allows to move the extremity of each link.

Manhattan uses automatic functions to design the link.

Anchor:
Unselecting Automatic anchor allows to fix the extremity anywhere. Move the anchor inside the element which will become blue when the anchor is properly fixed.

Automatic anchor uses algorithm to fix the anchor automatically (the anchor cannot be moved)

eUML2 allows you to select a group of elements and to arranges the alignment.
Six alignments are possible:
The following example shows where you can select the alignment function:
Select the alignment function from:
