Class Diagram Example
The following example shows a class diagram creation using Eclipse 3.2.
At first, we create the new project "bank".
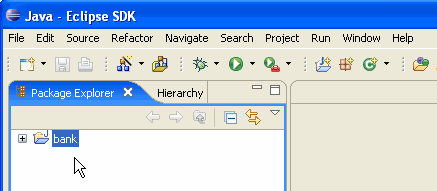
We are going to add general Eclipse Preferences, which will be used in our
example.
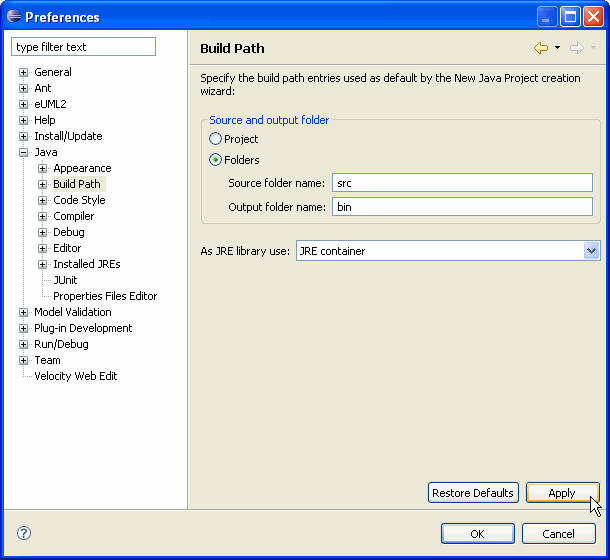
Click on Window>Preferences.
We decided to create a src and a bin
output
for this project.
Select Java>Build Path and
click on Folders checkbox.
We are going to set up general UML
preferences.
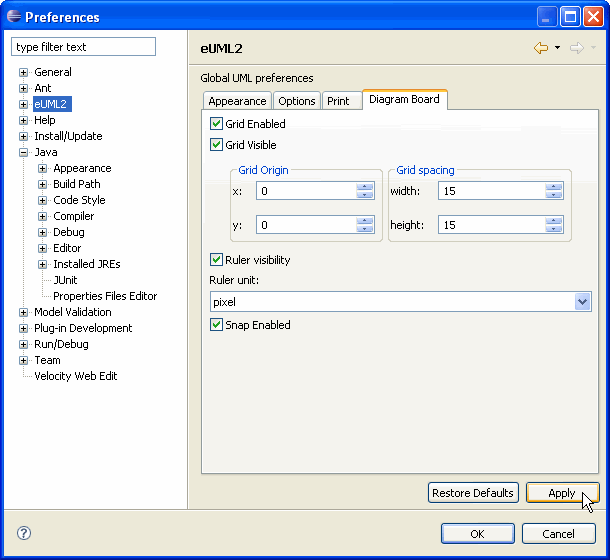
Click on eUML2, wait for the launch of eUML2.
Select the following options:
Toolbar:
- Flat
- with image
- with text
Diagram Presentation:
Select Diagram Board menu to activate the
following options:
- Grid Enabled
- Ruler visibility > pixel
- Sanp Enabled
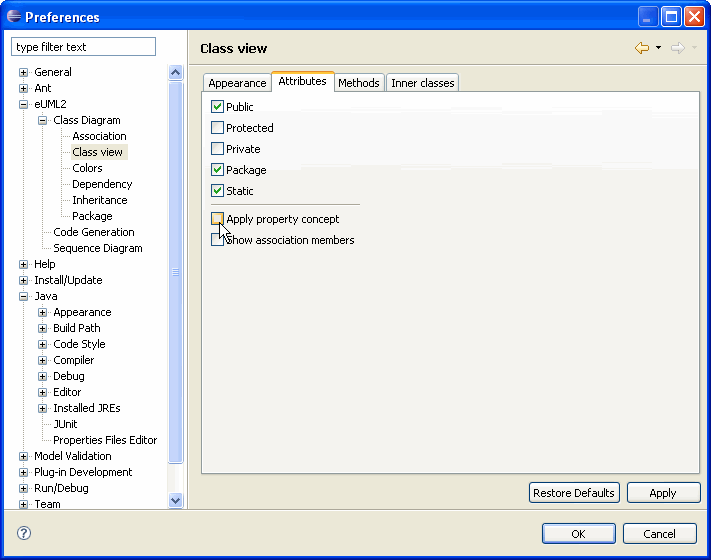
We want to show Public, Protected,
Private, Static
and Package Attributes.
We also want to show
Public and Package Methods.
We unselect the Use property concept
checkbox.
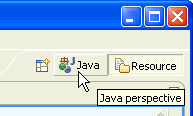
We would like to use a Java Perspective.
Click on the top icon to
select
Java perspective.
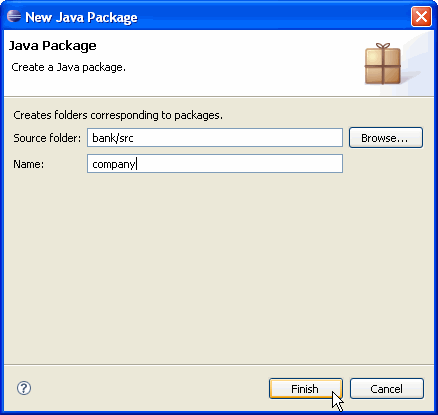
We are going to create a new Java Package.
Select src in the Package Explorer New >
Package.
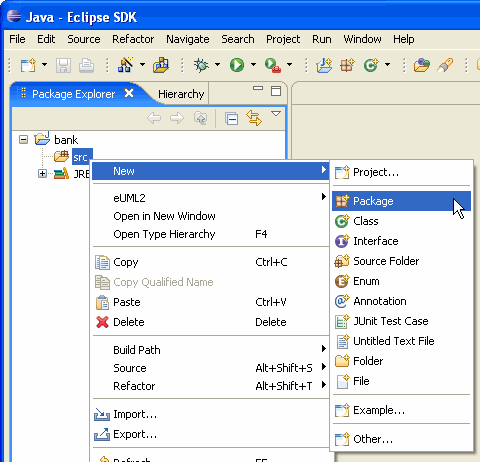
Enter the name of the Package.
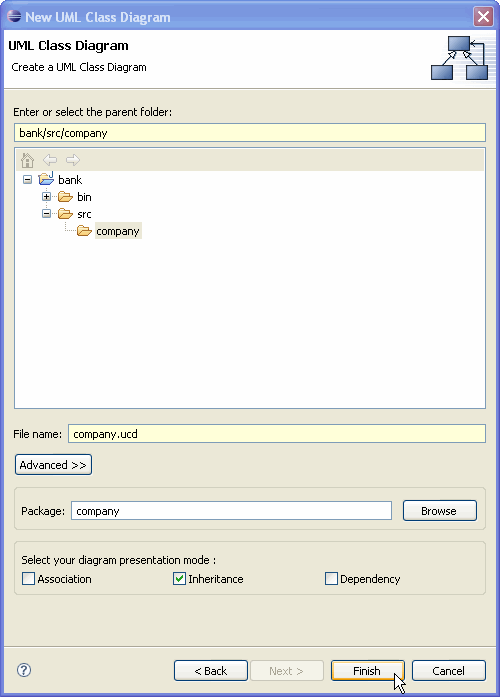
Select company package in the Package Explorer, open the popup menu New > Other
Select
UML Diagrams > UML Class Diagram then click on the next button.
Enter the name of the class diagram file
in the File name field.
Enter company, the ucd (UML Class Diagram) extension is related to the
class diagram.
Click on the finish button.
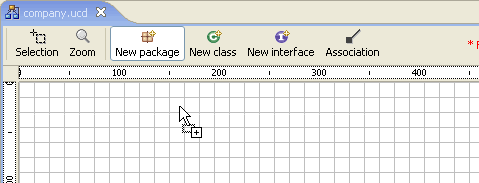
The company class diagram is displayed.
Create a New Package. We have two ways to do it:
- with toolbar, by selecting new package in the toolbar and click on the
diagram
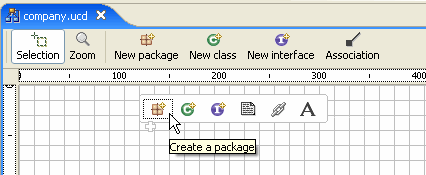
- with popup toolbar, by placing the mouse in the diagram area,
when the popup toolbar appears, click on the new package icon.
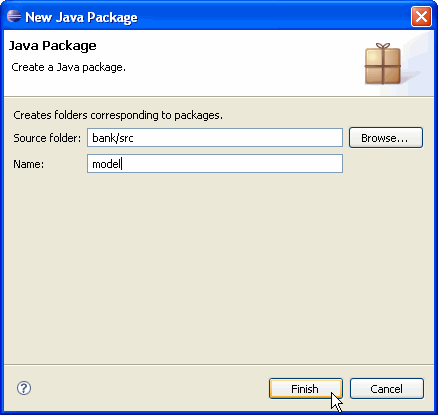
Enter the name of the package in the
Name field.
Create a new Class Diagram inside the
model
Package.
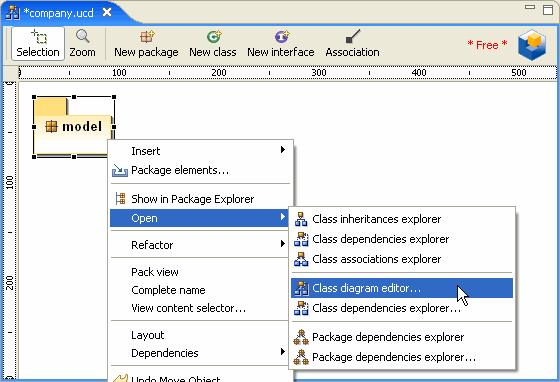
Click on model > Open > Class diagram
editor ...
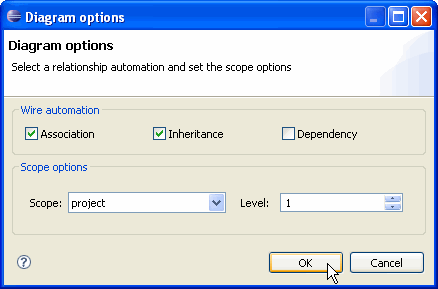
In the Diagram options activate the following options:
Create a New class.
Three ways can be used to create a new class :
|
Diagram toolbar
|
Popup toolbar
|
Popup menu
|
|
|
|
|
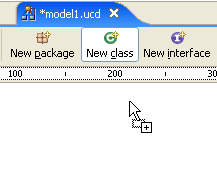
- with diagram toolbar, select New class in the toolbar and click
on the diagram
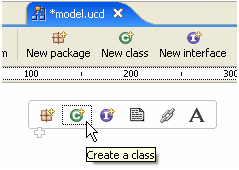
- with popup toolbar, place the mouse in the diagram area, when the popup
toolbar appears, click on the new class icon.
- with popup menu right click the mouse in the diagram area, select New
> Class
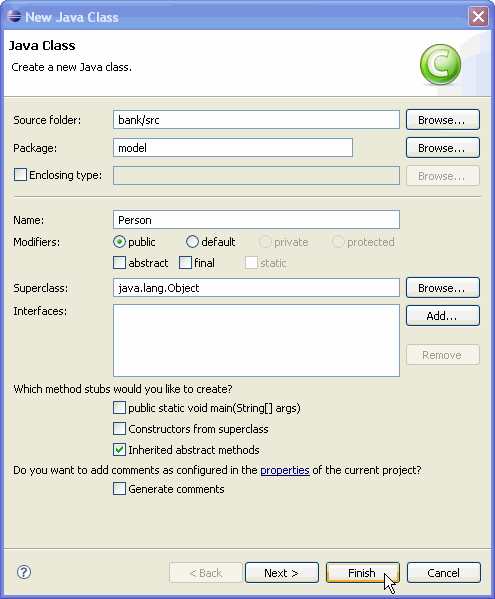
Enter Person and click on the Finish button.
We are going to add two new propeties.
Click on Person > New > Property.
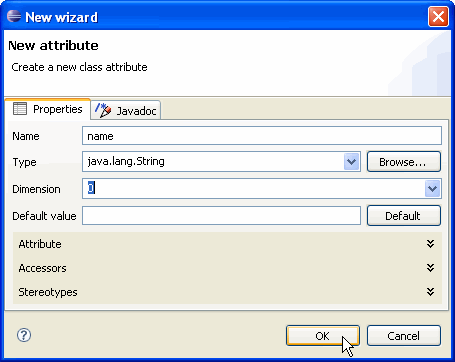
Enter Attributes properties: "age: int" and "name:
java.lang.String".
We discover that attributes are not
visible in the class diagram editor.
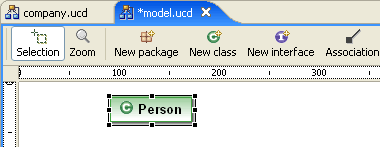
We want to show attributes and Methods
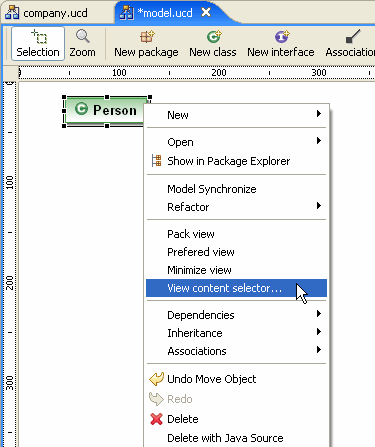
in the Class diagram.
Select a class and open the popup menu then select View content selector.
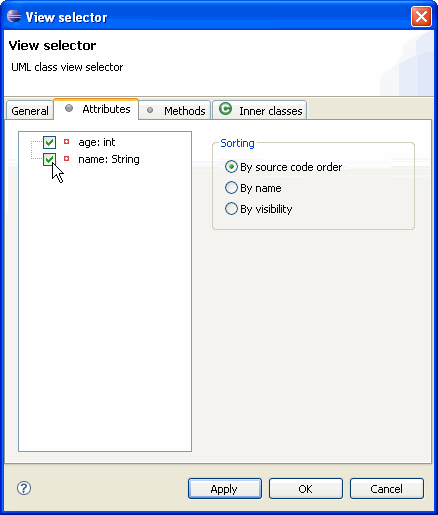
Select Attributes tab and attributes
checkbox in the left pane.
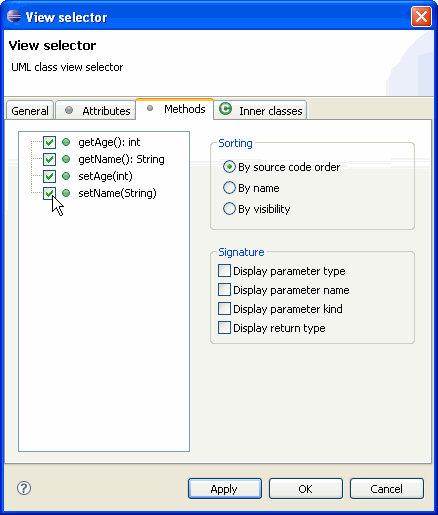
Select Methods tab and Methods checkbox
in the left pane.
Create a New class named Employee.
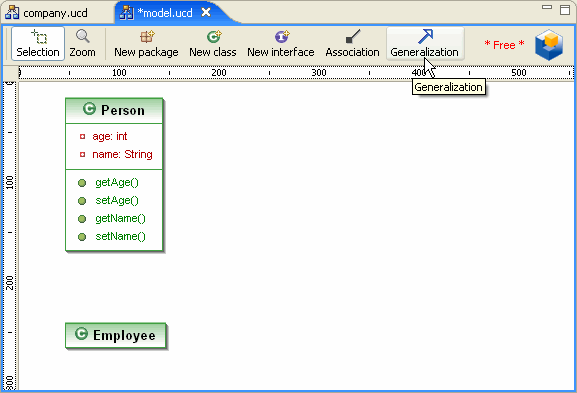
We would like to add inheritance from Employee to Person.
Select Generalization in the Toolbar.
Drag the Inheritance from Employee to Person.
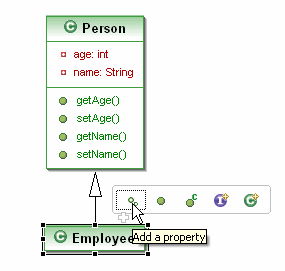
Add "salary: float" attribute to Employee, we use this time the popup toolbar
to realize it.
Create a New class named Company.
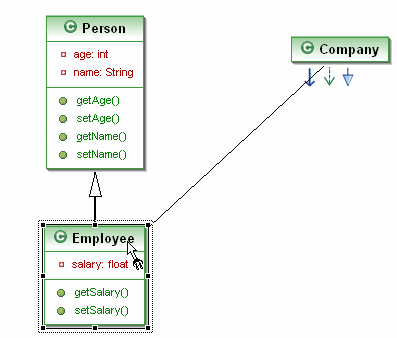
We want to create a new Association between Company and Employee.
Select Association in the Toolbar then drag from Company to Employee or use
the popup toolbar to draw the link.
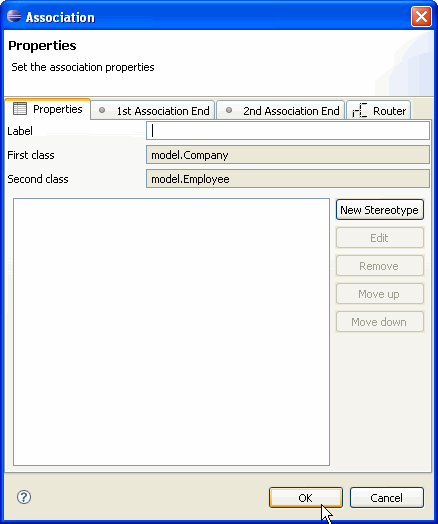
It is possible to add a name to the Label, but we will not in this
example.
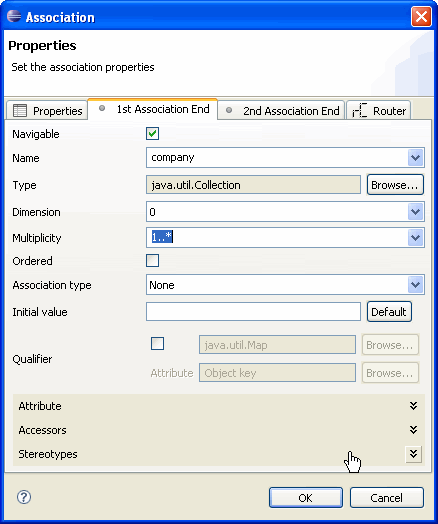
Enter the 1st Association End properties.
Select 1...* Multiplicity.
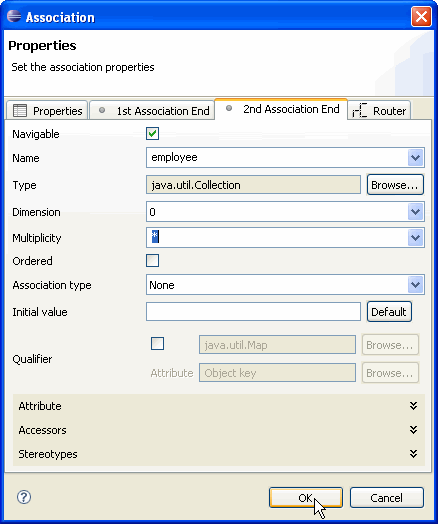
Enter the 2nd Association End properties.
Click on Company and Create two new Attributes: "name: String" and "activity:
String". Then use popup menu View content selector to display them
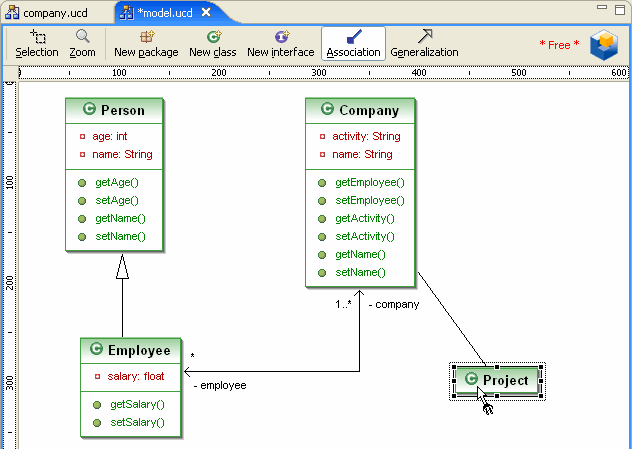
Create a New class named Project and add
an
association between Company and Project.
Enter Association Properties.
Label: leave blank.
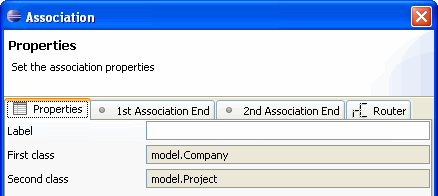
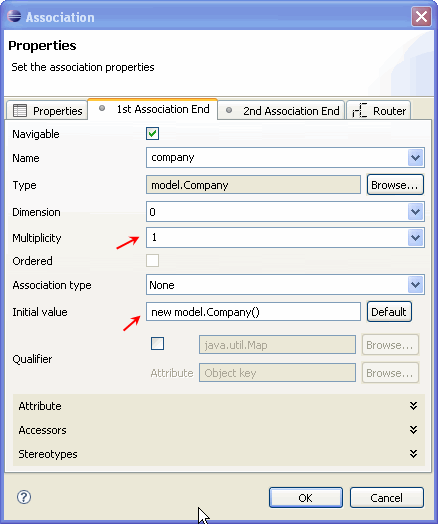
Enter the 1st Association End properties.
Select 1 for Multiplicity and "Default" for Initial value
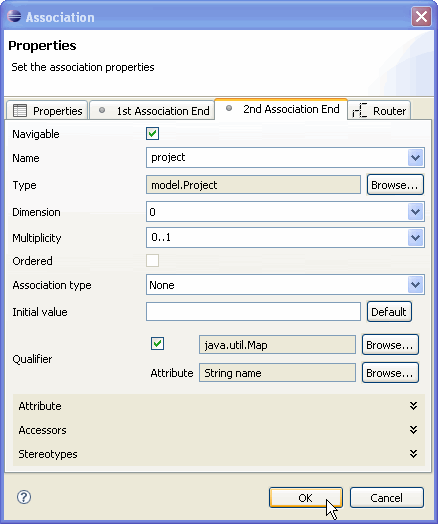
Enter the 2nd Association End properties.
Select Qualifier in the 2nd Association End.
Select the Qualifier checkbox and enter name in the name field
and Attribute String name.
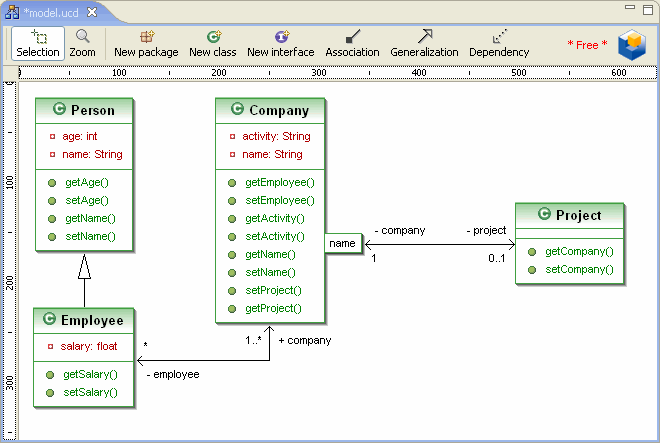
Please check that your Class diagram is
the
same as below.
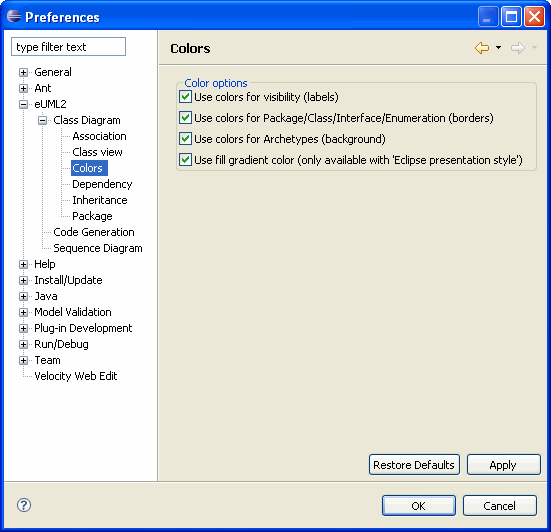
The colors are used to have a better understanding
of our diagram. We can change them by selecting in the menu bar Windows >
Preferences > eUML > Class Diagram > Colors
Add "name: String" new Attribute to Project class.
Add an Association between Employee and Project.
Select Association and drag from Employee to Project.
In the properties menu:
Connection: leave blank
1st Association End: Name: leader, Dimension 0, Multiplicity 0..1
2nd Association End: Name Project, Dimension 0, Multiplicity 0..1

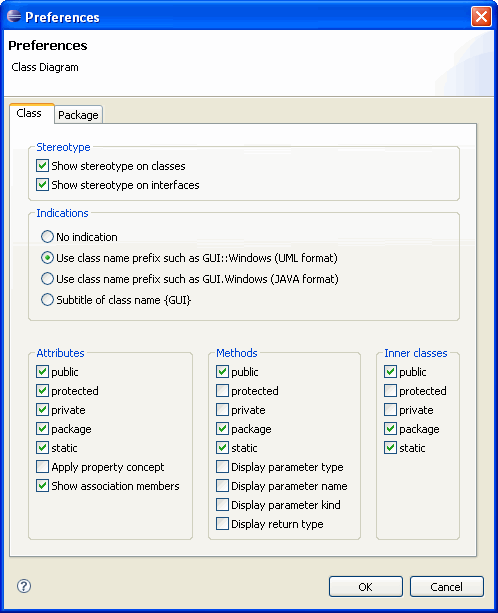
We also need to show association members.
Right click inside the diagram editor, making sure that you don't select
one of the elements - otherwise you are going to open the element popup menu and not
the diagram popup menu.
Select the Show association member checkbox and click on the OK button.
All association attributes are now
displayed in the class diagram.
Select an element and right click to open the element popup menu > View Selector
Use view selector (if needed) to display employee, activity and
projectmap
attributes etc...
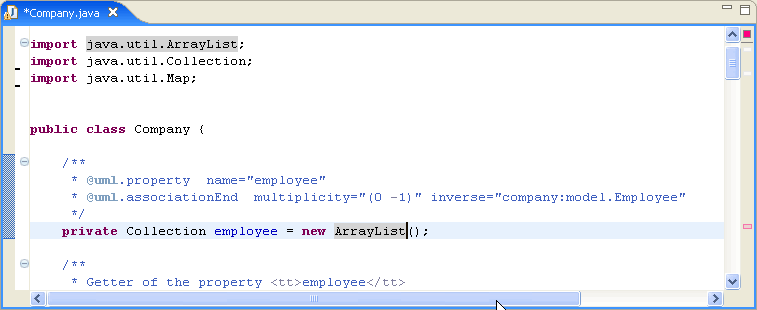
Show code. Click on Employee attribute>Open>Source Editor
Type new code :

The marker shows unresolved type.
Correct the compilation error ->
Resolve
the type.
Place the mouse cursor at the end of "ArrayList".
Control + space and "java.util.ArrayList" is imported :
Now you can go back to your class
diagram
and enjoy modeling!
The class diagram extension is *.ucd.


